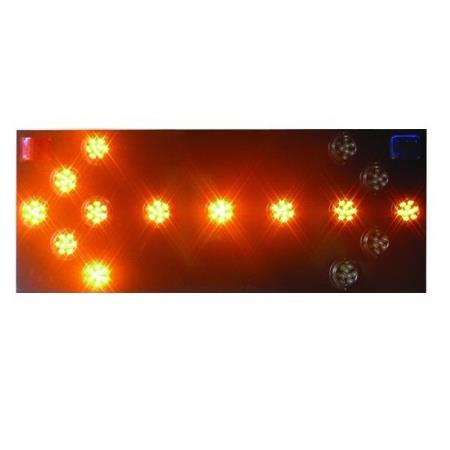
Vehicle Construction Guidance License Name: Vehicle Construction License, Vehicle Guidance License, Construction Guidance License, mainly used in engineering construction sites or engineering vehicles, such as sprinkler, construction vehicle, highway maintenance vehicle, warning vehicles or passers-by to pay attention to the construction danger ahead, in accordance with the direction indicated to drive or travel. The brand face of the product is composed of lamp barrel. The lamp barrel is equipped with high brightness LED lamp. The lamp barrel is controlled by control system. Different combination of lamp barrel can show different directions or graphics. Therefore, it is also called solar vehicle construction guiding lamp and vehicle guiding lamp.
1. Outer frame material: galvanized sheet
2. Size: 1250*550 mm (special size can be customized)
3. Working Voltage: 12V or 24V
4. Light bulbs: 15 68mm or 85mm light bulbs
5. Guiding function: adjustable four guiding functions
6. LED single lamp brightness: > 6000 MCD or more
7. LED single lamp life: 100000 hours
8. Visual Distance (> 1000m)
9. Waterproof grade: IP65
Installation instructions:
1. Install the T-type screw into the guide rail, clamp the upright pole of the car with the clamp hoop, screw the nut onto the T-type screw without tightening, adjust the height and left and right position of the guide plate, tighten the nut, fix the guide plate, and connect the solar panel wire joints.
2. When the guide plate is positioned, the connecting port of the control line is located at the bottom and right of the guide plate. Four-core air plug inserts one end of the control line into the jack and tightens the nut to fix it. The extension body of the control line is fixed and extended to the cab. The remaining end of the control line is connected to the controller.
3. Insert one end of the power line into the controller to confirm that the power switch on the control box is not turned on. At this time, insert the cigarette lighter end of the power line into the vehicle cigarette lighter, and all the lines are connected.
4. Check carefully whether the circuit is connected correctly. After confirmation, press the red switch at the tail of the cigarette lighter and the power indicator light is on, indicating that the cigarette lighter is connected properly. Then turn on the master switch on the control box and start working on the screen.
5. When the product enters the working state, the working mode of the product can be adjusted to check whether the working mode corresponds synchronously with that of the control box, and if the comparison is correct, it can work normally.